
Spam bots are a serious problem for modern websites — especially when it comes to user registration forms. If you’re building a Laravel application and want to protect your forms from automated bots and spam submissions, integrating Google reCAPTCHA is one of the most effective methods.
In this tutorial, I’ll walk you through the complete process of integrating Google reCAPTCHA (v2) into your Laravel signup form, using the popular anhskohbo/no-captcha package. This guide is beginner-friendly and suitable for Laravel 8, 9, 10, or 11.
What You’ll Learn in This Guide
- What reCAPTCHA is and why it’s important
- How to generate Google reCAPTCHA keys
- How to install the
anhskohbo/no-captchaLaravel package - How to display the reCAPTCHA box on your signup page
- How to validate reCAPTCHA input on form submission
- How to troubleshoot issues related to PHP version or Composer setup
- Bonus: How to test your integration and customize error messages
What Is Google reCAPTCHA?
Google reCAPTCHA is a free service that helps protect websites from spam and abuse by verifying that a user is a human and not a bot. It provides a CAPTCHA widget you can add to your forms — often in the form of a checkbox (“I’m not a robot”) or an invisible background check (v3).
reCAPTCHA helps:
- Prevent automated form submissions by bots
- Reduce fake registrations
- Improve your server’s security and bandwidth usage
- Maintain trust in your user database
Prerequisites
Before we begin, ensure that the following requirements are met:
- You have an existing Laravel project.
- PHP version is 8.2 or higher.
- Composer is installed and working.
- You have terminal/SSH access to your Laravel project folder.
- You have basic knowledge of Laravel Blade, routes, and controllers.
🔑 Step 1: Get Google reCAPTCHA API Keys
You need a Site Key and a Secret Key to use reCAPTCHA. These keys are tied to your domain name.
👉 How to Get Your Keys:
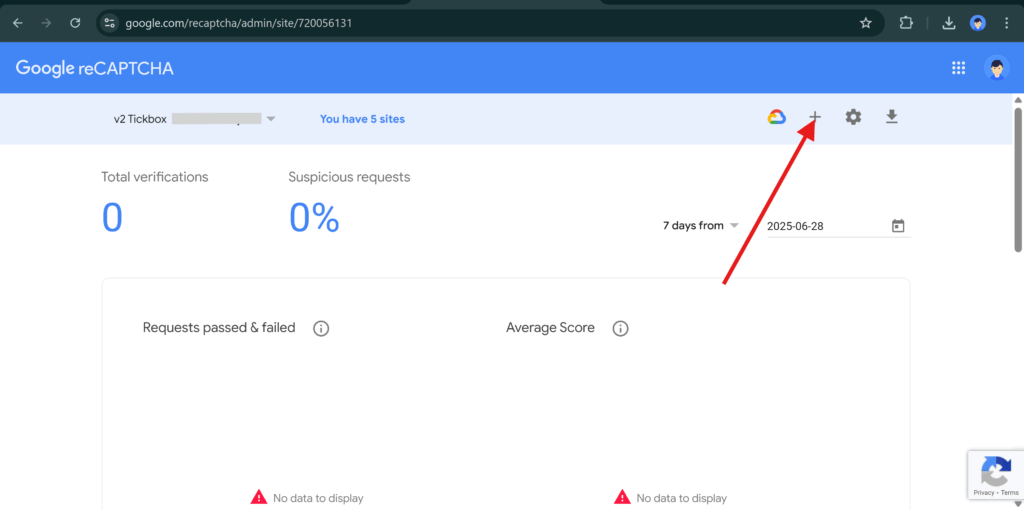
Visit the official reCAPTCHA admin panel:
👉 https://www.google.com/recaptcha/admin
Click “Create” or “Add New Site”.
Fill in the registration form:
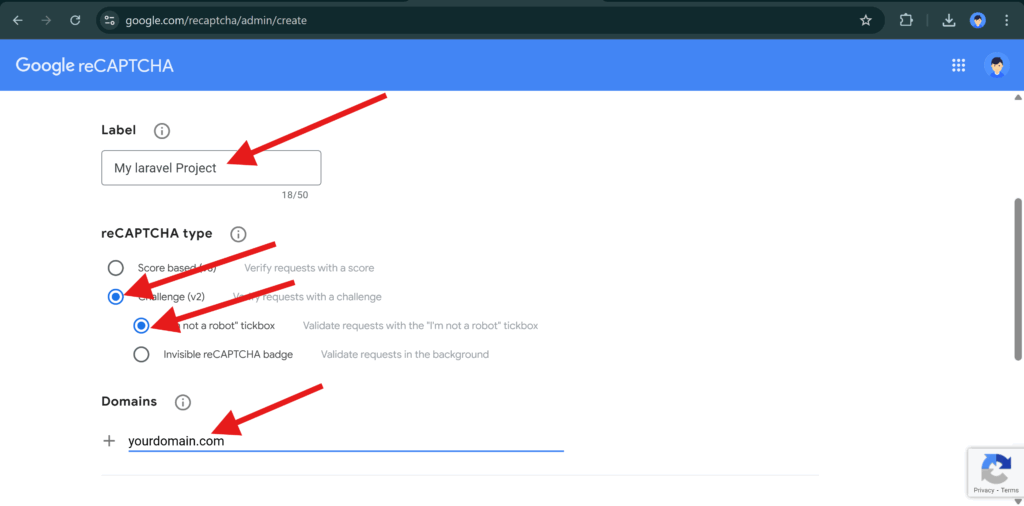
Label: A name to identify the site (e.g., “My Laravel Project”).
reCAPTCHA Type: Choose reCAPTCHA v2 > “I’m not a robot” Checkbox.
Domains: Add your domain name (e.g., example.com).
Accept Terms and click Submit.
You’ll now receive:
A Site Key — used on the frontend to render the reCAPTCHA.
A Secret Key — used on the backend to validate the user’s response.
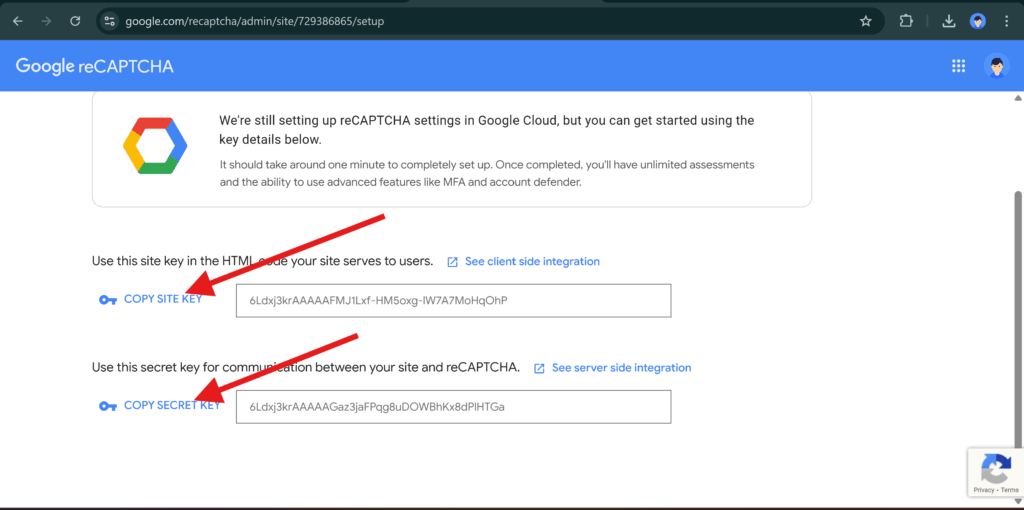
Keep both of these keys safe — we’ll need them soon.
Step 2: Install the reCAPTCHA Package
Now, you’ll add reCAPTCHA support to Laravel using a community-maintained package called anhskohbo/no-captcha, which makes it simple to render and validate Google’s reCAPTCHA.
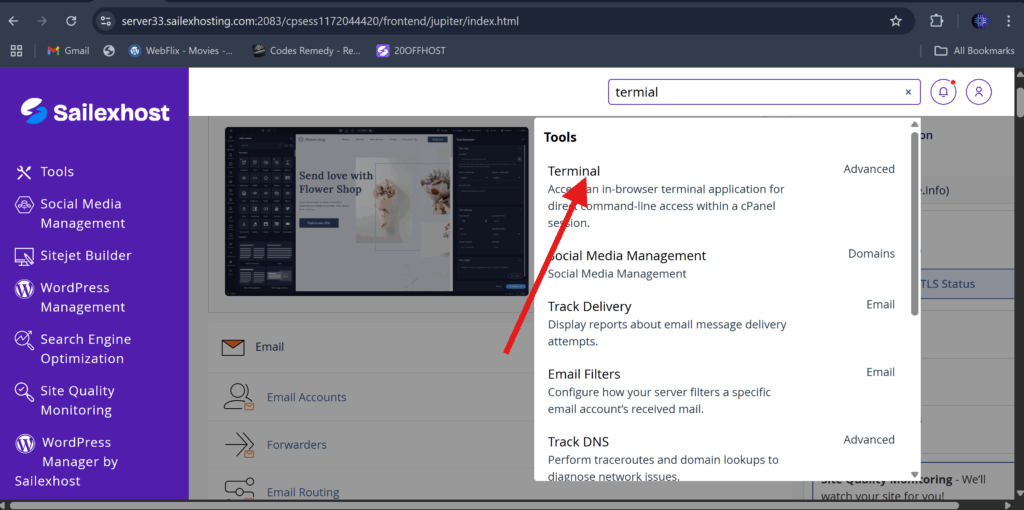
Go to your Laravel project via SSH:
cd ~/public_html # or wherever your Laravel project livesInstall the package using Composer:
composer require anhskohbo/no-captchaIf you run into a PHP version error like:
Root composer.json requires php ^8.2 but your php version (8.1.32) does not satisfy that requirement.…it means Composer is using the wrong PHP version.
Fix PHP Version Mismatch (cPanel/Shared Hosting)
If you’re on a server that defaults to PHP 8.1 but your Laravel project requires 8.2, use this command:
/opt/cpanel/ea-php82/root/usr/bin/php /opt/cpanel/composer/bin/composer require anhskohbo/no-captchaThis explicitly tells Composer to use PHP 8.2, which resolves version conflicts.
Once the package is installed successfully, you’re ready to configure it.
Step 3: Configure API Keys in Laravel
Now that the package is installed, we need to configure your Laravel app to use your Site Key and Secret Key.
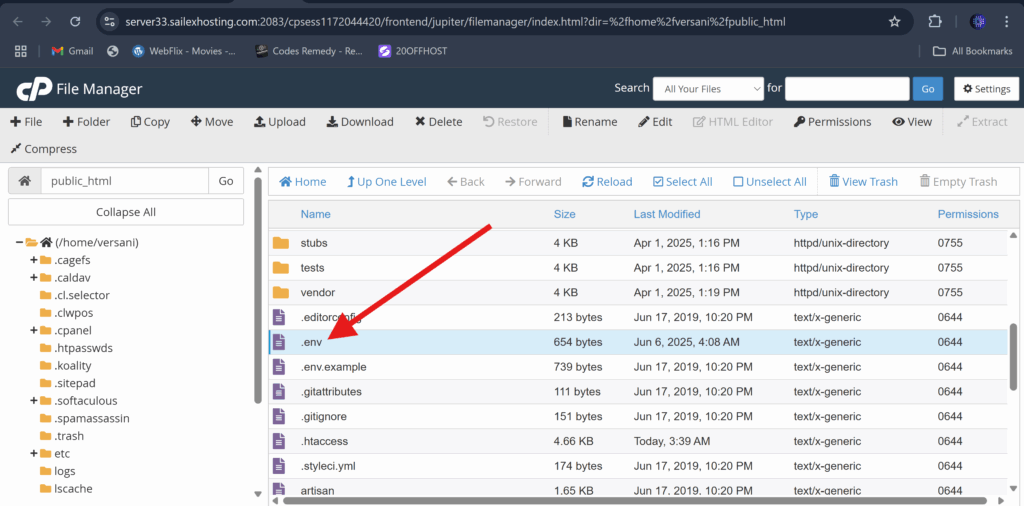
Add reCAPTCHA keys to your .env file:
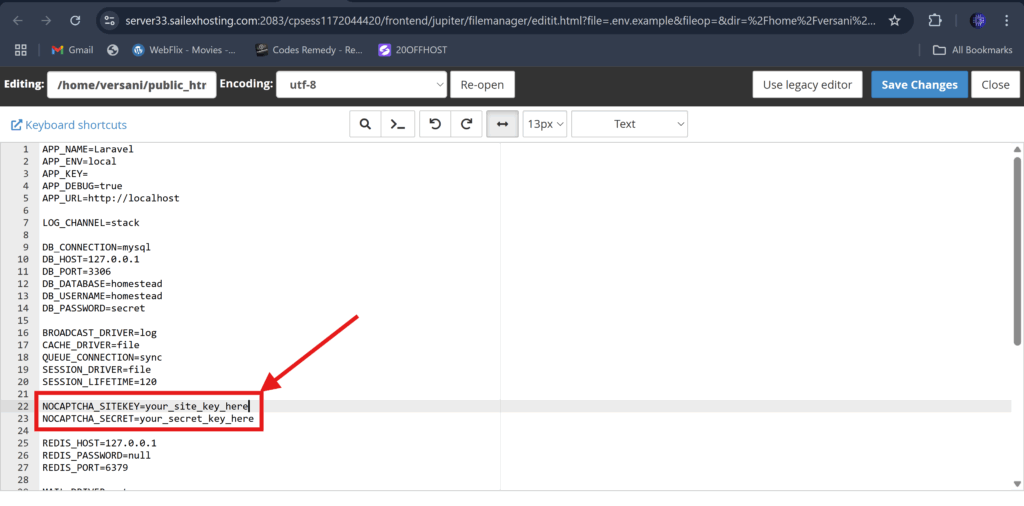
Open .env in the root of your Laravel project and add:
NOCAPTCHA_SITEKEY=your_site_key_here
NOCAPTCHA_SECRET=your_secret_key_hereReplace your_site_key_here and your_secret_key_here with the real keys you got from Google.
Update config/services.php
Open this config file:
config/services.phpThen add this array to it:
'nocaptcha' => [
    'sitekey' => env('NOCAPTCHA_SITEKEY'),
    'secret' => env('NOCAPTCHA_SECRET'),
],Finally, clear your configuration cache:
php artisan config:clearStep 4: Add reCAPTCHA to Your Signup Form
Now let’s display the reCAPTCHA checkbox on your frontend form.
Open your Blade file:
resources/views/auth/register.blade.phpThen inside the <form> (just above the submit button), add this:
{!! NoCaptcha::renderJs() !!}
{!! NoCaptcha::display() !!}

@if ($errors->has('g-recaptcha-response'))
    <span class="text-danger">
        {{ $errors->first('g-recaptcha-response') }}
    </span>
@endifThis will:
- Load the reCAPTCHA JavaScript
- Render the checkbox UI
- Show error messages if reCAPTCHA fails
💡 Want to customize the look and position? You can wrap the display in your own
<div class="form-group">.
Step 5: Validate reCAPTCHA on the Server
Next, we need to verify the user’s CAPTCHA response when the form is submitted.
Locate Your Form Handler
Depending on your Laravel setup, the form may be handled in one of the following:
🔹 Option A: RegisterController.php
File path:
app/Http/Controllers/Auth/RegisterController.phpLook for a function like this:
public function register(Request $request)
{
    $request->validate([
        'name' => 'required|string|max:255',
        'email' => 'required|email|unique:users',
        'password' => 'required|string|min:6|confirmed',
        'g-recaptcha-response' => 'required|captcha',
    ]);

    // Continue to create the user
}
Option B: Custom Form Request Class
Your validation rules might be in a class like:
app/Http/Requests/RegisterRequest.phpAdd the rule like so:
public function rules()
{
    return [
        'name' => 'required|string|max:255',
        'email' => 'required|email|unique:users',
        'password' => 'required|string|min:6|confirmed',
        'g-recaptcha-response' => 'required|captcha',
    ];
}
This ensures that users cannot submit the form unless they pass the CAPTCHA.
Step 6: Test Your Integration
Do this to test properly:
- Go to your signup page in a browser.
- Submit the form without clicking the reCAPTCHA checkbox.
- You should see an error like:
The g-recaptcha-response field is required.
- You should see an error like:
- Now check the box and submit again.
- The user should be registered successfully.
Optional: Customize Error Messages
To improve the user experience, you can customize the CAPTCHA error message.
Open:
resources/lang/en/validation.phpThen add:
'captcha' => 'Please verify that you are not a robot.',This will replace the default validation message with a friendlier one.
Optional Cleanup Tips
- You can add CSS to style the reCAPTCHA widget container.
- If you prefer invisible reCAPTCHA (v3), the same package supports it — but you’ll need to configure scoring.
Summary Checklist
| Task | Status |
|---|---|
| Created Google reCAPTCHA keys | ✔️ |
Installed anhskohbo/no-captcha package | ✔️ |
Added keys to .env and services config | ✔️ |
| Displayed reCAPTCHA on the registration form | ✔️ |
| Validated response on form submission | ✔️ |
| Tested integration | ✔️ |
| Customized error messages (optional) |
Final Thoughts
Protecting your forms with reCAPTCHA is essential in modern web development. Laravel makes it easy thanks to packages like anhskohbo/no-captcha, and with just a few steps, your app becomes more secure, more trustworthy, and more spam-resistant.
Whether you’re building a blog, SaaS, eCommerce platform, or membership site — reCAPTCHA is a smart choice.