Migrating a website from Namecheap to Sailexhost involves several steps. It’s important to approach this methodically to avoid downtime or data loss. Below is a comprehensive step-by-step guide to help you through the process, whether you’re transferring a WordPress site, static site, or any type of CMS-based website.
Step 1: Assess Your Current Website Hosting Setup
Before doing anything, take stock of your current hosting environment on Namecheap:
- What kind of website are you running (WordPress, HTML, Joomla, etc.)?
- Do you use cPanel on Namecheap?
- How large is your website (files + database)?
- Do you use email accounts with your domain?
Why this matters: These details influence how you migrate your files, database, and DNS settings.
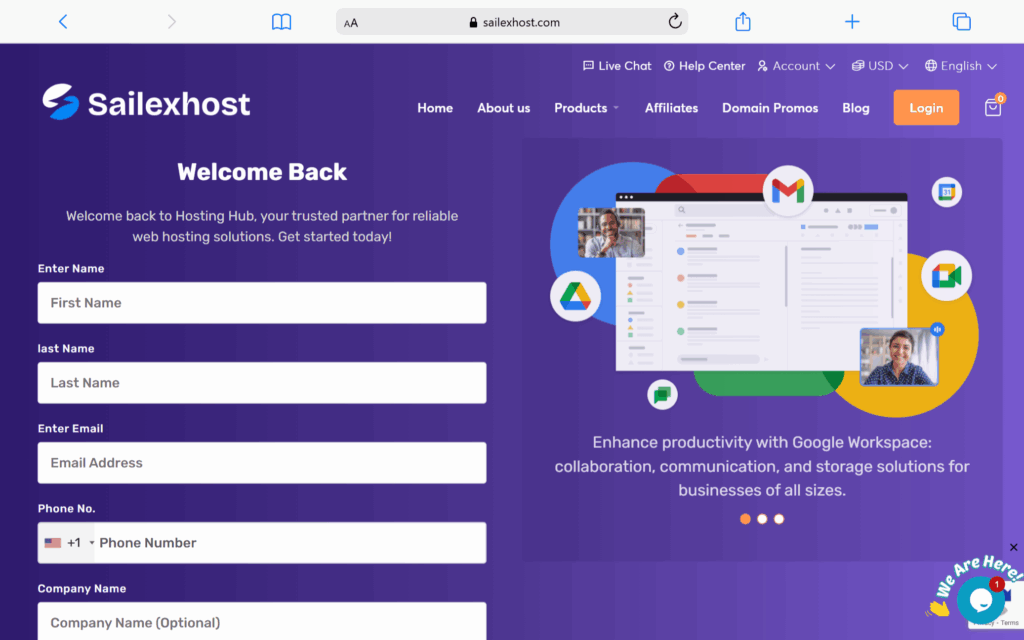
Step 2: Sign Up for a Hosting Plan on Sailexhost
- Visit Sailexhost’s website and choose a suitable hosting plan.
- After payment, you’ll receive:
- Login details to your new cPanel account.
- Nameservers or DNS info to connect your domain.
Tip: Start with a hosting plan that matches your current traffic and site size. You can always upgrade later.
Step 3: Backup Your Website Files and Database on Namecheap
If You’re Using cPanel:
- Log in to your Namecheap cPanel.
- Download Files:
- Go to File Manager > public_html.
- Compress all files into a
.ziparchive. - Download the
.zipto your local computer.
- Export Database:
- Go to phpMyAdmin in cPanel.
- Select your website’s database.
- Click Export > Choose Quick + SQL format > Click Go.
If You’re Using WordPress:
Use a plugin like All-in-One WP Migration, UpdraftPlus, or Duplicator to back up your site and database easily.
Step 4: Upload Your Website to Sailexhost
- Log in to your Sailexhost cPanel.
- Open File Manager, go to public_html, and upload your
.zipfile. - Once uploaded, extract the archive.
- Import your database via phpMyAdmin:
- Create a new database and user in MySQL Databases.
- Assign the user to the database with All Privileges.
- Go to phpMyAdmin, select the new DB, and Import the
.sqlfile.
- Update your website configuration files:
- WordPress: edit
wp-config.phpwith your new database name, username, and password. - Other CMS: update the config file where database credentials are stored.
- WordPress: edit
Step 5: Update Domain Nameservers on Namecheap
Now point your domain (registered with Namecheap) to Sailexhost:
- Log in to your Namecheap dashboard.
- Go to Domain List, click Manage next to your domain.
- Under Nameservers, choose Custom DNS.
- Enter the nameservers provided by Sailexhost (usually something like
ns1.sailexhost.com,ns2.sailexhost.com). - Save changes.
Propagation Time: It may take 1–48 hours for DNS changes to propagate worldwide.
Step 6: Test Your Website on Sailexhost
After DNS changes propagate:
- Visit your domain in a browser.
- Check pages, links, images, forms, and functionality.
- Log into your CMS admin panel to confirm everything is working.
Tip: While DNS propagates, you can test using your server’s IP or a hosts file override if needed.
Step 7: Set Up Emails (If Needed
If you were using email accounts on Namecheap, set them up on Sailexhost:
- In cPanel, go to Email Accounts.
- Create accounts (e.g., info@yourdomain.com).
- Update MX records if you use external services like Google Workspace.
Step 8: Secure and Optimize
- Install SSL Certificate: Use the free SSL (Let’s Encrypt) in cPanel.
- Install Security Plugins: If using WordPress, consider plugins like Wordfence or iThemes Security.
- Optimize Performance: Enable caching, use a CDN, and compress images.
Step 9: Cancel Hosting with Namecheap (Optional)
Once you’re confident your website is fully migrated and running on Sailexhost:
- Download final backups.
- Cancel your Namecheap hosting (but keep your domain if you wish).
Important: Don’t cancel Namecheap hosting until your DNS is fully propagated and the website works properly on Sailexhost.
Optional: Use Sailexhost’s Migration Support
Many hosting providers (including Sailexhost) offer free migration assistance. If you’re unsure or need help:
Let us handle the migration for you.
Contact Sailexhost’s support team.
Give us access to your old hosting account let handle the migration for you
Final Checklist
| Task | Status |
|---|---|
| Backup files and database from Namecheap | ✔️ |
| Purchase and set up hosting on Sailexhost | ✔️ |
| Upload files and import database to Sailexhost | ✔️ |
| Point domain to new nameservers | ✔️ |
| Set up email accounts | ✔️ |
| Test website thoroughly | ✔️ |
| Secure and optimize your website | ✔️ |
| Cancel Namecheap hosting (optional) | ✔️ |


Leave a Reply